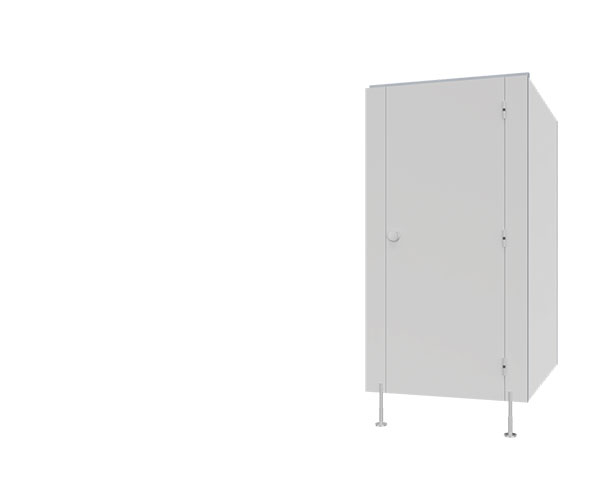
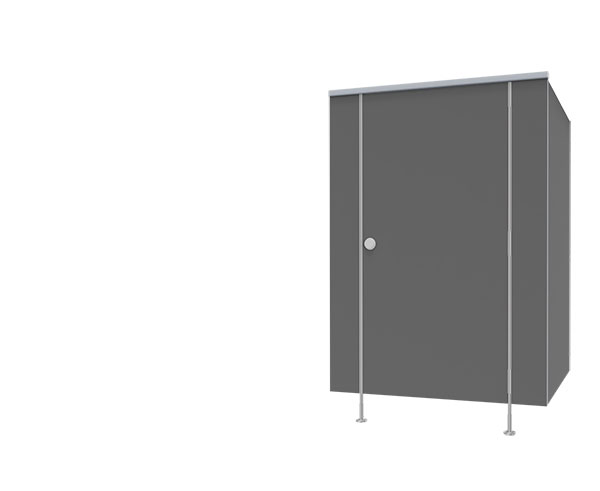
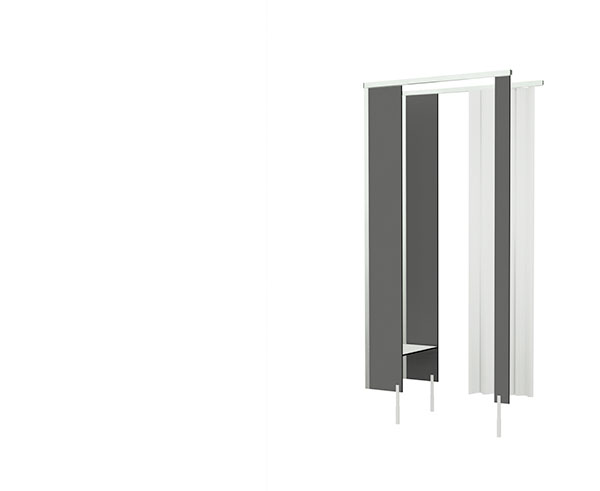
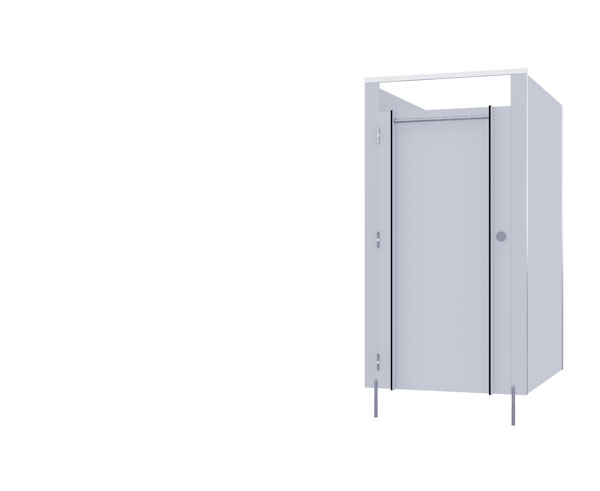
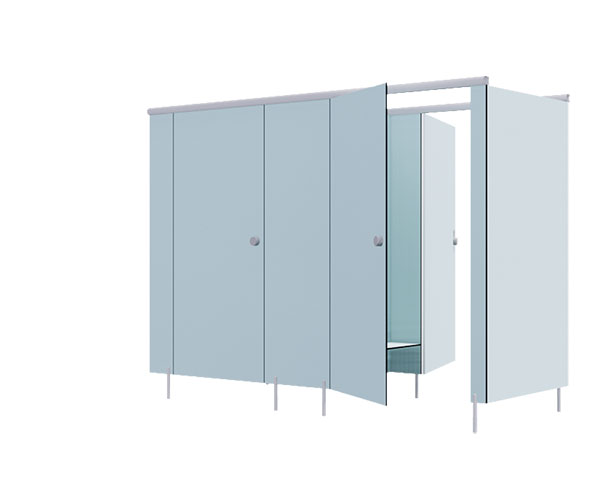
How to measure and install toilet cubicles?
The correct measurement and installation of toilet cubicles affects the comfort of their use and the durability of the various systems for many years. How do you take measurements and what should you keep in mind when installing a toilet cubicle?
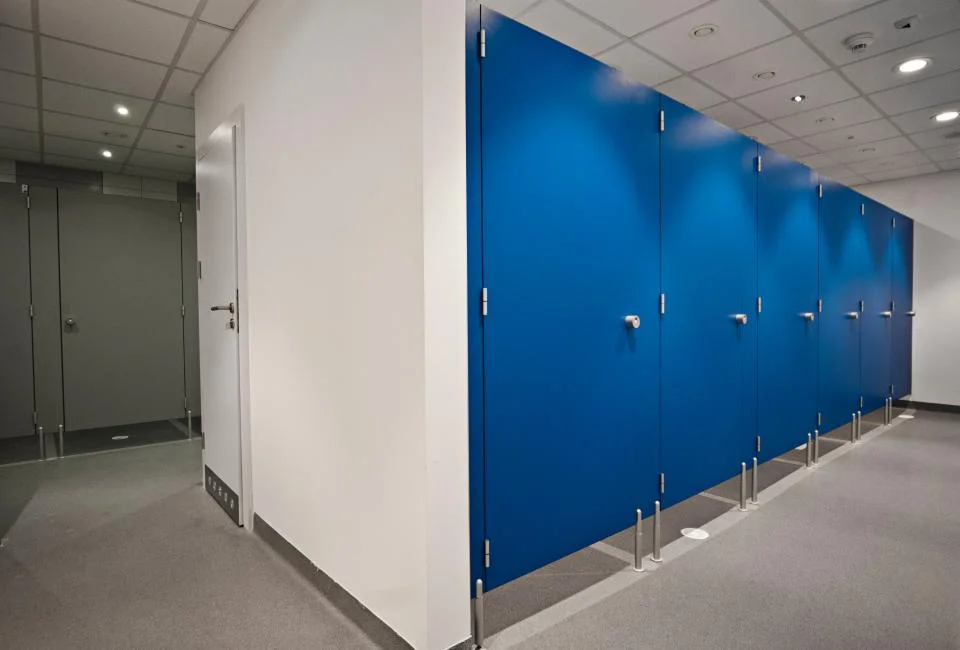
Rules for taking measurements of a toilet cubicle
Measurements can only be taken in rooms that are already finished, that is, with tiles laid, walls finished and toilet bowls installed. In a situation where there are no toilet bowls installed, it is necessary that the connections be visible: toilet drain pipes and any water inlets and revisions. If the cabins are to be installed in a room with a specific built-in system (so-called geberit), the set must be installed so that the necessary cutout for the shelf that makes it up can be determined.
How to measure the space for a sanitary cubicle?
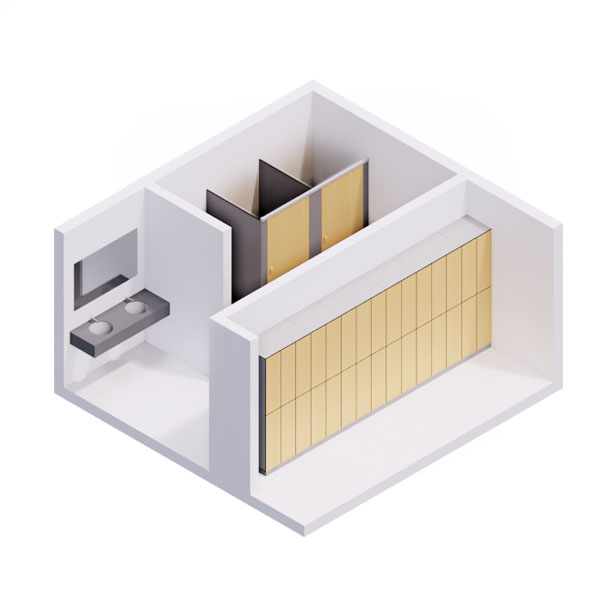
Measurements are best taken with a laser rangefinder, although a rolling measure (with a minimum length of 5 meters) is also acceptable. The measurement begins with sketching the room (known as a top view) and plotting landmarks on the project, such as toilet bowls, geberth shelves, windows, window sills, radiators or doors.
- We start the measurement from one of the walls, which will be the base wall, and measure the distance from the edge of the wall to the axis of the element (such as the toilet bowl). Note: If the cubicles are to be 1500 mm, then the measurements should be taken on just such an arm, to avoid the situation of translating the dimensions when the room is wedge-shaped (trapezoidal). It is discouraged to take measurements against the back wall of the room, as this has a high risk of measurement error.
- When measuring window sills, windows, built-ins, it is necessary – in addition to the distance from the base wall – to specify the height and sometimes the width of the element in question. In this situation, it is best to make an auxiliary drawing.
- Once the individual components have been measured, it is also good practice to measure the overall length of the wall on which the products are mounted and the width of the room – to make sure that once the development is installed, the corridors will comply with legal requirements.
Tip: when you take measurements of several rooms, it is important to assign numbers to each drawing. The best way to do this is to use the room designations from the architectural documentation. If such is missing – it is worth giving auxiliary designations, such as room A, room B, etc.
If the room has underfloor heating, this information must be included already in the drawings with measurements. This will allow you to prepare the cabins for anchoring in the floor.
Tools needed to install the toilet cabin
Among the sample tools needed for the installation of a toilet cubicle made of HPL board are:
- Cordless screwdriver with Pz2 blade or Phillips screwdriver;
- Electric drill with 6 mm and 10 mm diameter tile drills
- Metal drills with diameters: 3.5 mm, 4.5 mm, 6 mm and 10.5 mm;
- 8 mm wrench;
- Soft pencil or thin pencil;
- Retractable measure;
- A level with a length of min. 1 meter.
WC cubicles should be installed in cleaned rooms, after all masonry, painting and tiling work has been completed. A prerequisite for proper installation of the development is careful maintenance of risers and levels.
Installing a toilet cubicle in 5 steps
Installation of sanitary cubicles ordered from us is carried out in a few steps – regardless of the chosen system.
- Preparation for installation – transferring data and dimensions from the documentation to the walls.
- Fittings – drilling holes for mounting studs, to which the fittings for the system walls are screwed.
- Partitions – installing the feet and screwing the partitions to the hardware, while constantly checking their position with a level.
- Top profile and door – installation of the top profile, on which the door to the cabin is installed.
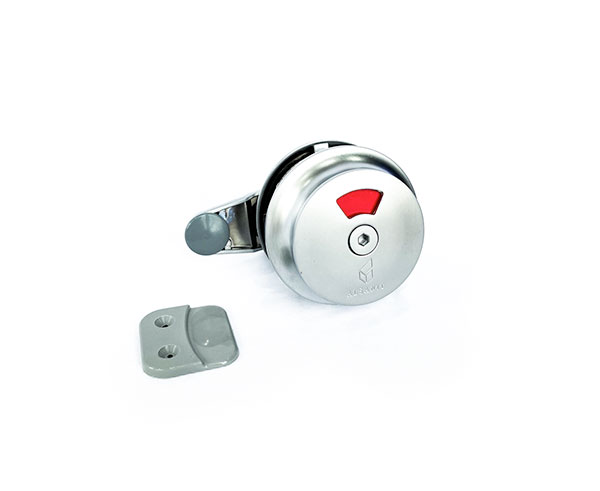
- Finishing work – installation of closures and clothing hooks for the toilet cubicle door and cleaning of the development.
Each toilet cubicle building system comes with a detailed instruction manual with tips on what tools and accessories to use. Also included are all kinds of screws, dowels, bases and other mounting components.
Technical details of installation of hygienic and sanitary cubicles
Alsanit is not only a manufacturer of high-quality sanitary cubicles, but also an expert advisor. Below is a list of technical parameters that toilet cabins should meet according to the law:
- The cubicles height of the hygiene and sanitation room should be at least 2.5 m,
- The cubicle door should open to the outside of the room, close automatically, and should be 0.8 m wide and 2 m high,
- Cubicles for the disabled should have a maneuvering space of 1.5 x 1.5 meters (from the toilet bowl), the door leading to the toilet should be at least 90 centimeters wide.
At Alsanit, we take these parameters into account and design toilets to comply with the above information. Adapting the cubicles to the current requirements contributes to making all toilets functional and adaptable. Therefore, every detail, which includes the mounting height of toilet bowls, handles, paper feeders or door hooks, is important for people (especially those with disabilities) using the toilet.
Ask – we will advise!FAQ in a Nutshell:
1. Can toilet cubicles be installed if the room does not already have a toilet installed?
You can, if connections such as drain pipes, water inlets and revisions are visible. However, it is recommended to make toilet cubicles only when toilet bowls are already installed.
2. Can toilet cubicles be installed in a room with underfloor heating?
Yes. However, it is imperative to include this information in the documentation and drawings with measurements.
3. What tools are needed to install a toilet cubicle?
To assemble a toilet cubicle, you should prepare hand and power tools, such as a screwdriver, drill bits, wrenches, tape measure, level, soft pencil. The built-in kit, on the other hand, includes all the mounting articles and components.
4. How long does it take to install toilet cubicles?
An authorized team of installers from Alsanit will do the job in a few hours in a professional and neat manner. The customer can carry out the installation himself (each toilet cubicle wall kit comes with detailed instructions).


