Secure lockers: how to protect personal belongings in public spaces
Busy gyms, schools, and workplaces move fast, and people bring valuables with them. You want a locker area that feels safe, works smoothly, and lasts. The difference comes from solid materials, smart locks, and clear rules. A well-planned setup reduces losses and complaints, and keeps traffic flowing. Use this guide to fine-tune your lockers and build everyday trust.
In this article, you will learn:
- how to map risks and choose the right level of protection;
- which locker materials handle moisture, impacts, and graffiti;
- what to consider when picking keys, codes, or RFID systems;
- how to plan layout, sizes, and accessible provision;
- which policies keep lockers available and misuse low;
- how to install, maintain, and audit lockers for the long term.
Why secure lockers matter in public spaces
Lockers do more than hold bags; they reassure users and protect your reputation. Theft, prying, and accidental damage happen where many people pass through. A resilient locker design also reduces maintenance and downtime. Clear procedures finish the job by shaping how people use the space.
Before picking products, list your use cases, peak loads, and known pain points. Then look at how users move, wait, and queue. Use this to guide product choices and operating rules. Key threats to plan for include:
- quick grab-and-go theft in crowded moments;
- prying at door edges and weak hinges;
- lock tampering, lost keys, and code sharing;
- water, steam, and cleaning chemicals;
- impacts from trolleys and sports gear;
- graffiti and stickers.
Match protection to actual risk and footfall patterns. A pool changing room needs moisture-proof builds; a school corridor needs dent resistance. In both, a reliable lock and clear time limits matter. Add lighting and passive supervision to reduce blind spots without creating pressure on staff.
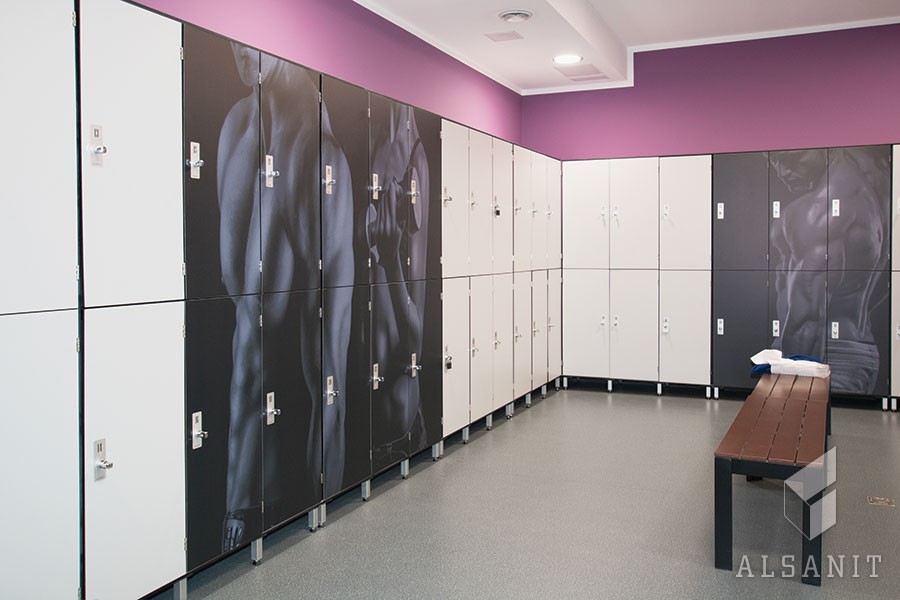
Materials and build quality: what really resists abuse
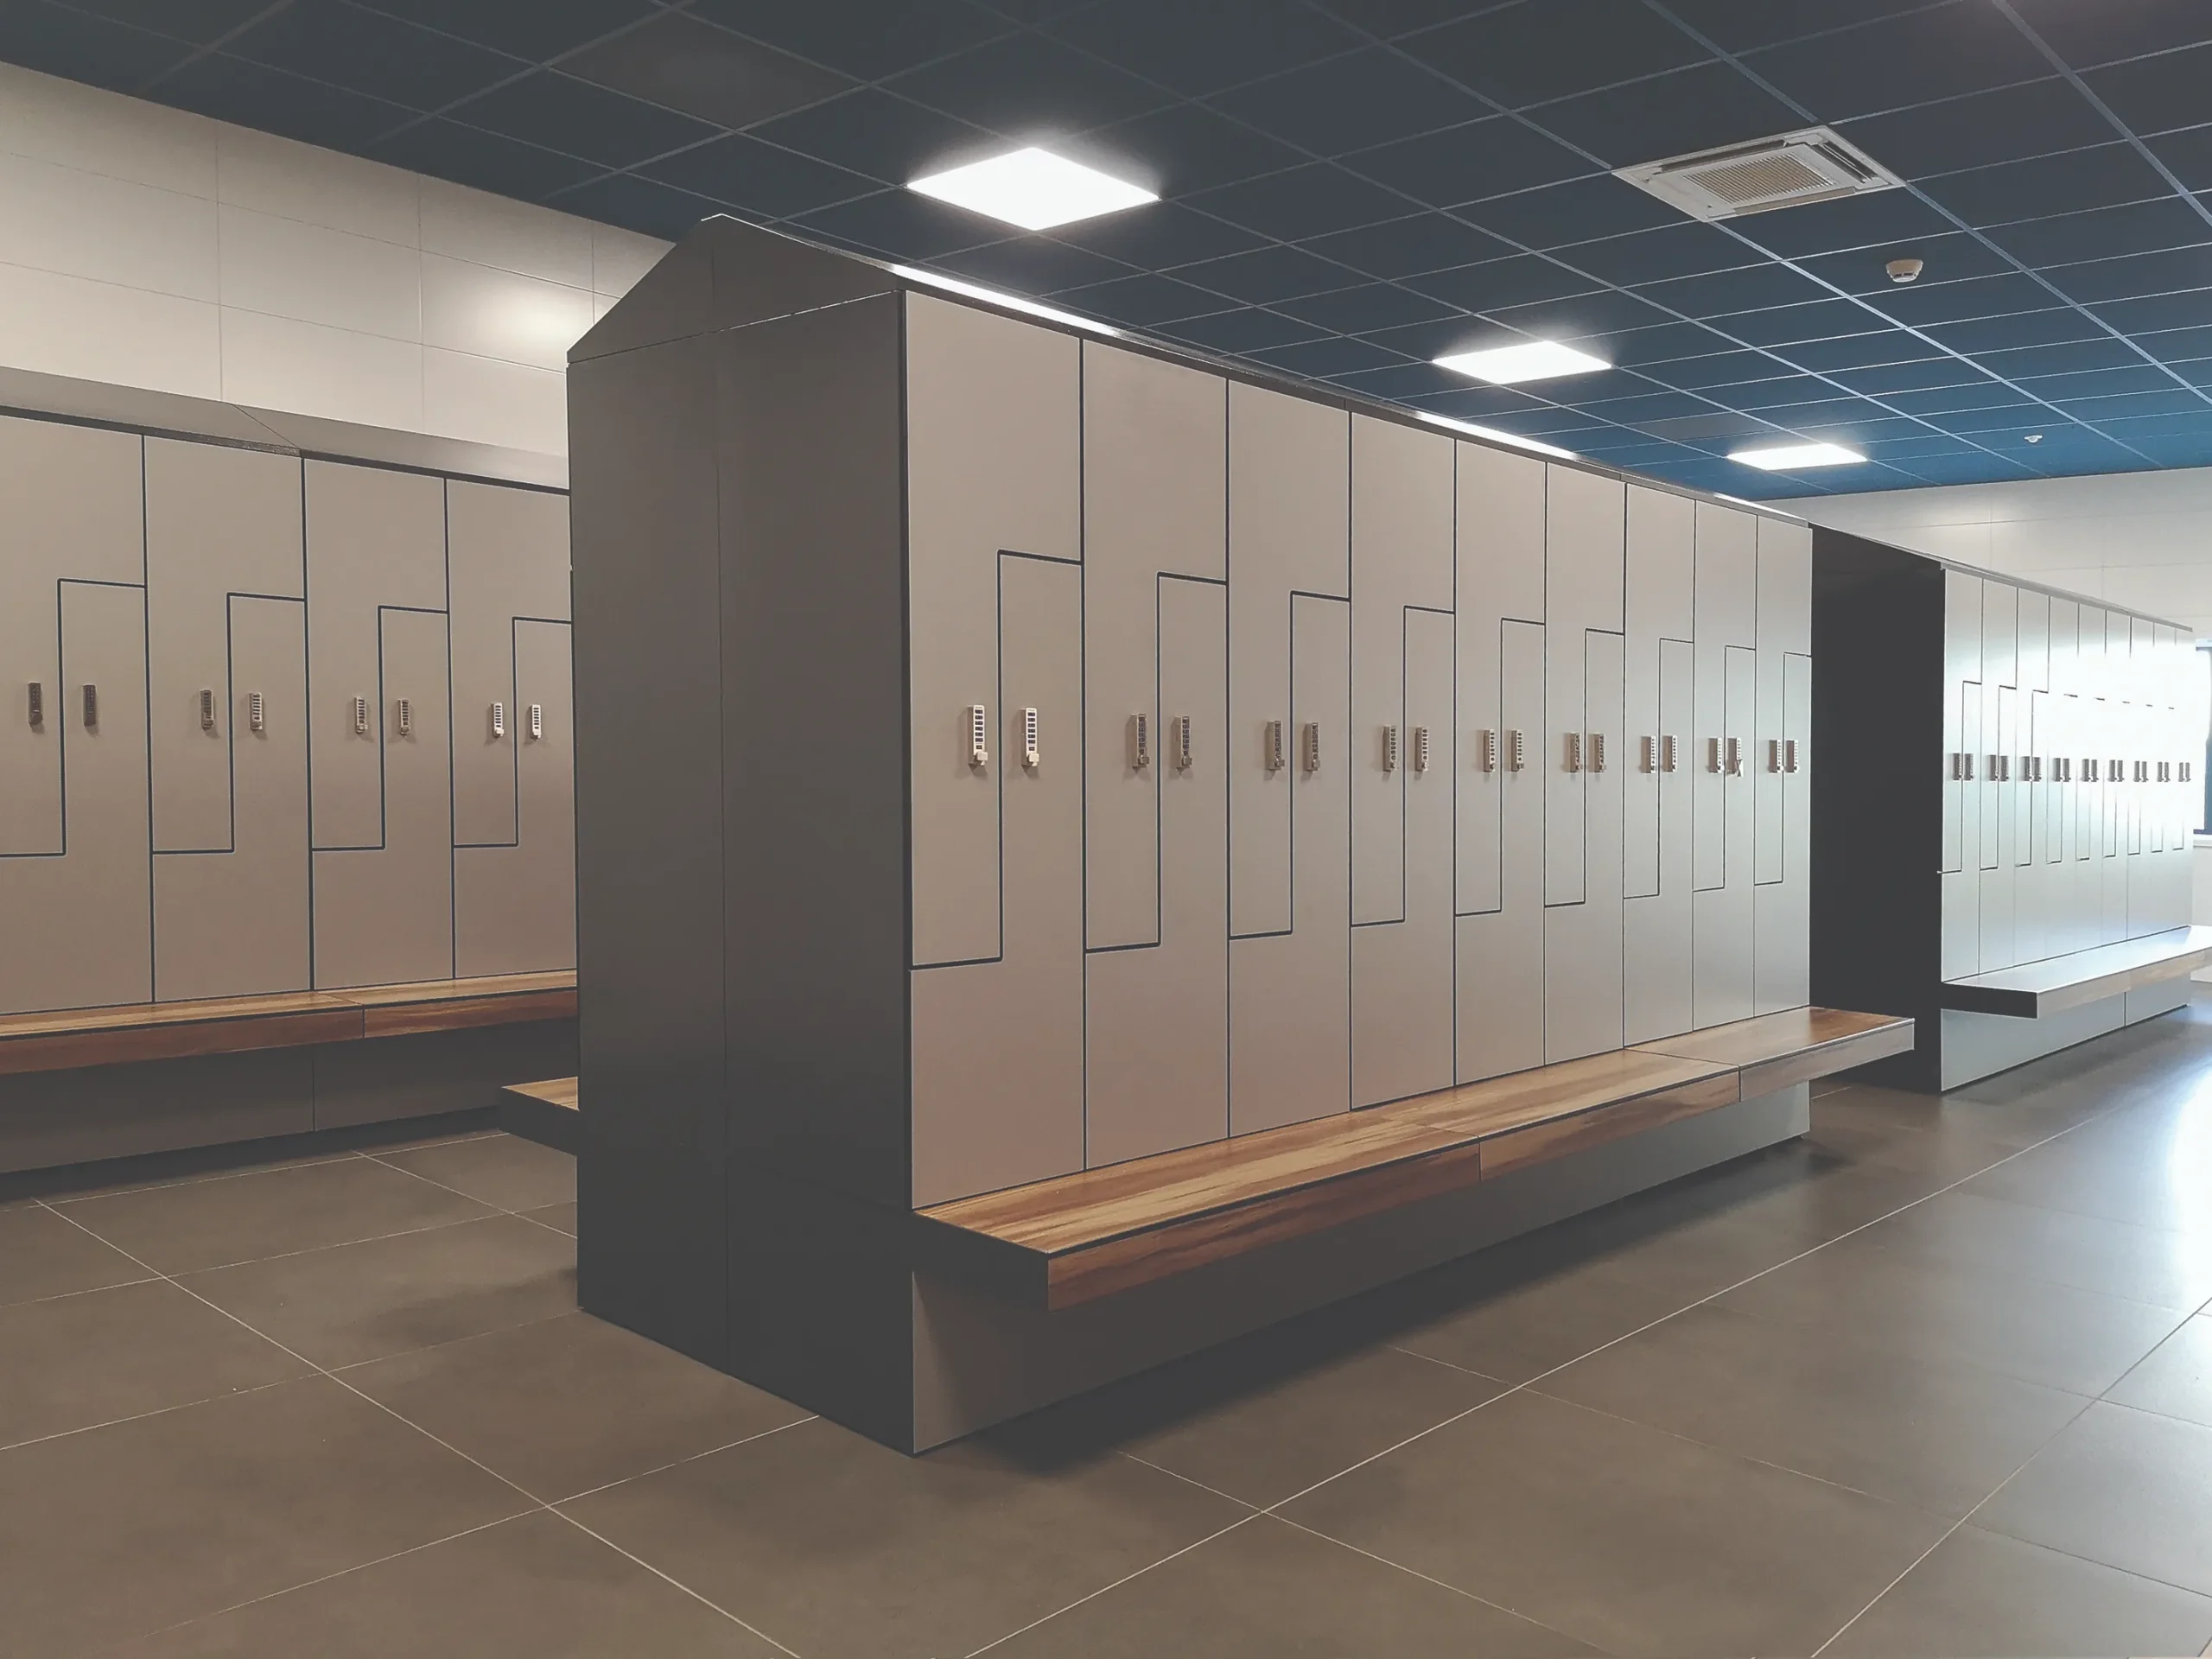
Start with doors and carcasses that shrug off hits, moisture, and cleaning. Compact laminate (HPL) resists swelling, scratches, and graffiti, and it suits wet zones. Powder-coated steel offers strength and good value in dry areas. Stainless steel or aluminium hardware and components add corrosion resistance where air is salty or damp.
Focus on construction details that stop prying and loosening. Full-height door stiles, continuous or concealed hinges, and through-bolted hardware raise the effort needed to force entry. Ventilation slots should not weaken the door edge. Sloped tops help prevent clutter, while raised plinths ease cleaning and reduce kick damage at ground level.
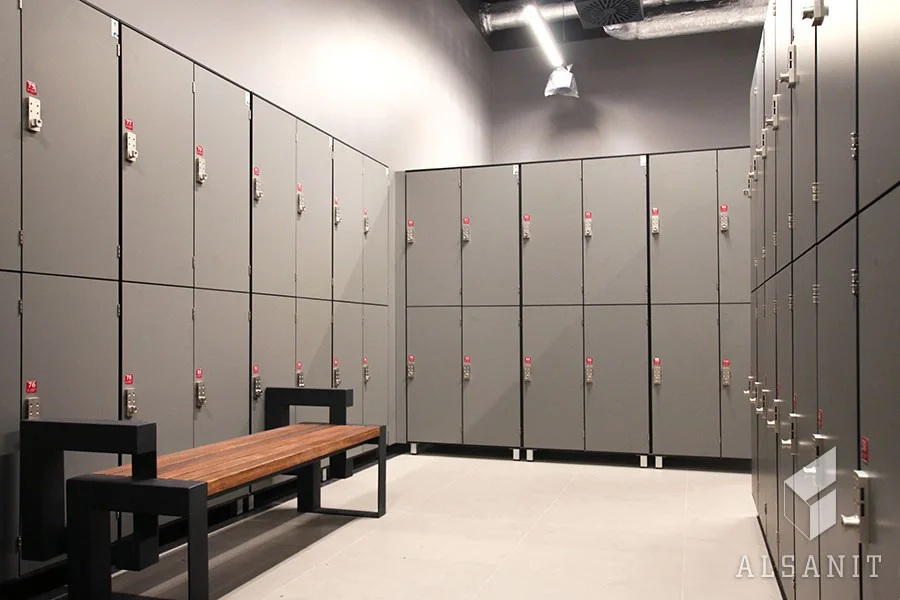
Locks and access control: from keys to RFID
Your lock choice shapes security, user flow, and admin effort. Simple cam locks are low-cost but need key control. Padlock hasps shift key management to the user; specify minimum padlock shackle diameter and a suitable security rating to avoid weak padlocks. Coin or token locks can encourage short stays and turnover where appropriate.
Think about who uses lockers and for how long. Decide if lockers stay assigned or rotate between users. Consider how you will handle lost credentials and access for staff in emergencies.
RFID or keypad locks speed queues and cut key losses, but they need battery plans and oversight. Networked locks can link to membership or student cards for easier audits. For wet zones, choose IP-rated housings and non-corroding parts. Install robust keeper plates, anti-spin cams, and escutcheons to resist torque attacks. Keep a master override protocol and store audit logs only in line with applicable privacy rules.
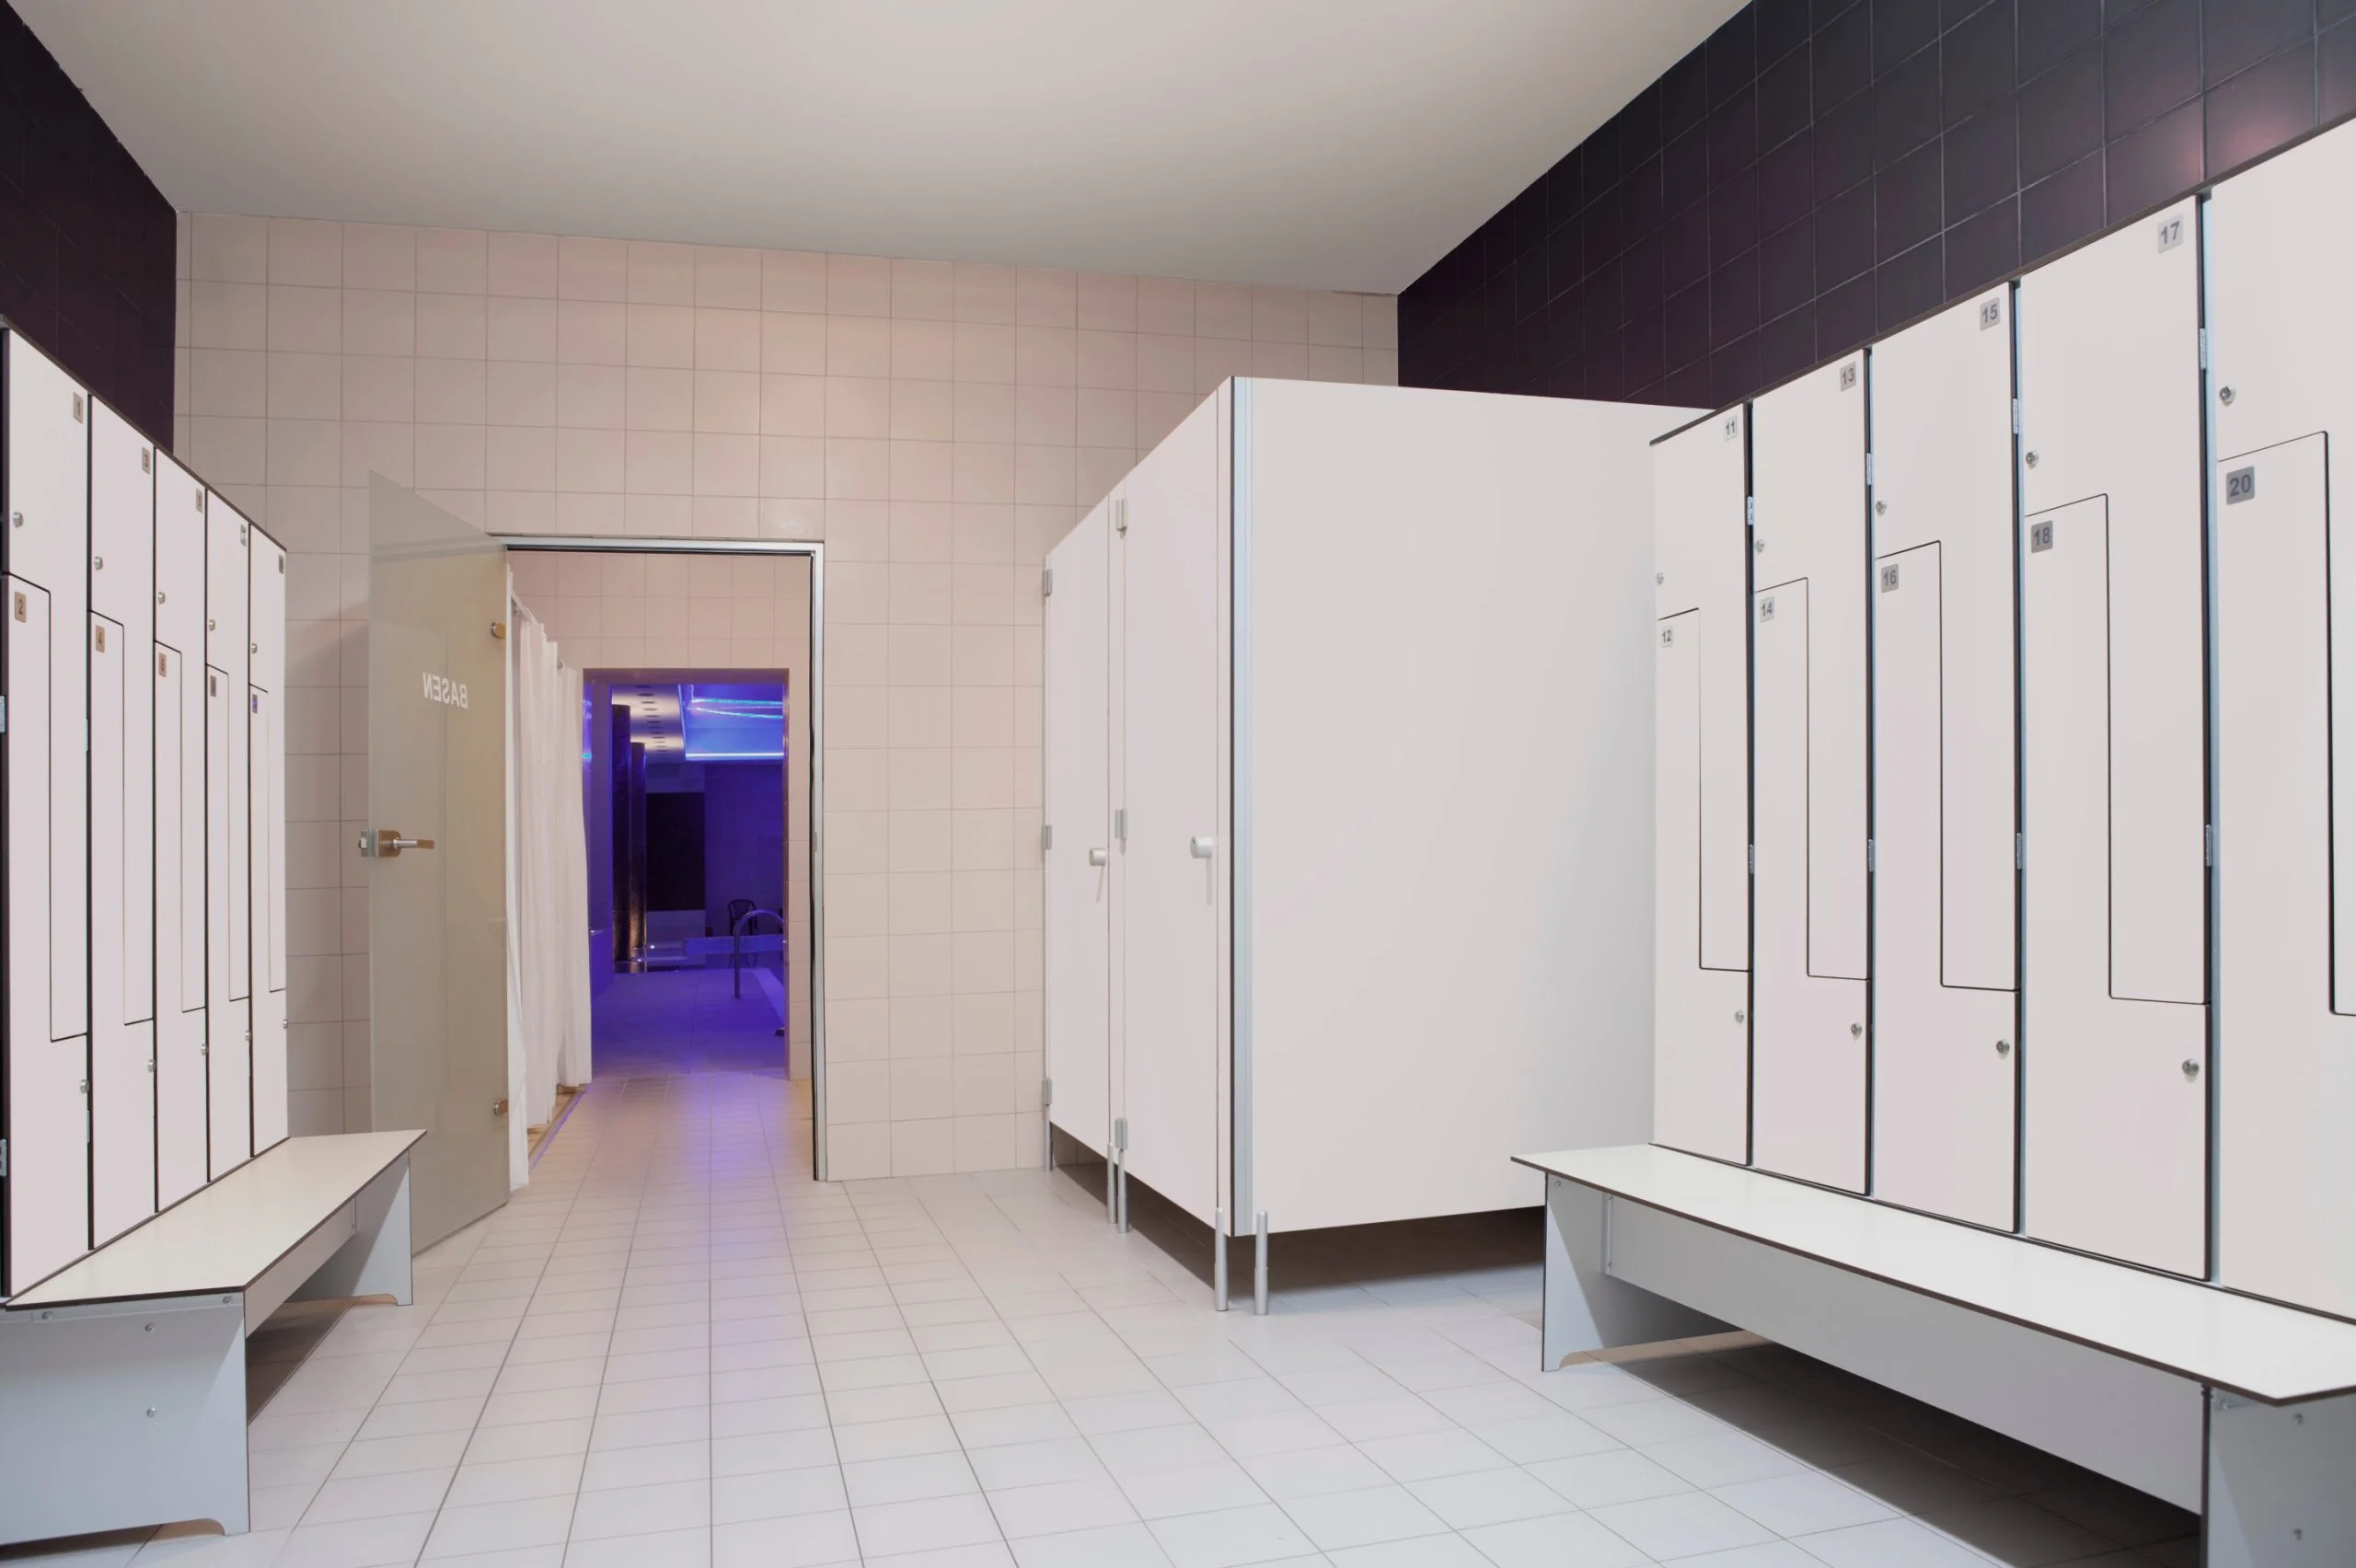
Layout, sizing, and accessibility
A good layout reduces crowding, deters tampering, and helps cleaning. Keep clear lines of sight from staffed points or cameras. Leave generous aisle widths so people can open doors without bumping others. Place benches and bag shelves to stop items spilling onto the floor.
Did you know that thoughtful size mixes cut abandoned-bag complaints? Offer half-height lockers for coats and day bags, plus a share of tall units for rucksacks. In schools and offices, small personal compartments reduce desk clutter and improve housekeeping.
Plan accessible lockers at convenient heights and close to routes without obstacles. Provide turning space for wheelchairs in front of doors. Use lever-style pulls and smooth-action hinges. Signpost accessible sections clearly, and avoid placing them at the ends of cramped corridors.
Example capacity plan for a mid-size gym
For 1,200 daily entries with two peaks, plan for roughly 15–25% simultaneous usage. Mix 70% medium units for day bags, 20% tall units for gym kits, and 10% small valuables compartments near reception. Place wet-zone lockers near showers with moisture-resistant materials and IP-rated locks. In dry areas, cluster lockers by activity zones to spread traffic and reduce pinch points at class changeovers.
Policies that keep lockers safe and available
Hardware works best with consistent, well-communicated rules. Post time limits and closing routines in simple language. Explain what items are not allowed and where to report issues. Train staff to act the same way every time, including how to free up overdue lockers.
These policy elements help reduce friction and risk:
- clear maximum stay times for day-use lockers;
- a simple overdue procedure with documented checks;
- banned items list, including flammables and e-scooter batteries;
- a lost credential process and identity verification steps;
- a found-items chain of custody and storage timeline;
- cleaning hours and how users can request delays;
- guidance on padlock sizes if users bring their own;
- reporting channels for damage or suspicious activity.
Reinforce rules in the app, on signage, and during onboarding for members or students. Keep language friendly but specific. Collect stats on overdue clearance, lost credentials, and break-ins, and share monthly snapshots with the team. Adjust rules when the data points to repeat problems.
Installation and anchoring you can trust
Even the best locker fails if it wobbles or flexes. Level the base, fix plinths firmly, and anchor runs to walls or floors per the substrate type. Use corrosion-resistant fixings in wet areas and protective sleeves in soft floors. Seal joints where water could seep in and cause corrosion or hygiene issues.
Commissioning is a step, not an afterthought. Test every lock, door alignment, and hinge travel. Check master overrides and document lock serials and locations. Photograph final fixes and store drawings and manuals where staff can reach them fast.
How to run a quarterly locker check
Set a simple checklist: fastenings tight, doors true, locks responsive, seals intact, and ventilation clear. Spot-test a sample of locks for battery levels or key wear. Log any vandalism marks and schedule rapid repairs, as visible damage invites more attempts. Review CCTV angles for coverage of aisles and entrances. Close with a short report and assign actions with deadlines.
Cleaning, maintenance, and lifecycle planning
Choose cleaning agents that match your materials to avoid clouding or swelling. For HPL and powder-coated steel, use neutral pH products and soft cloths, not abrasives. Rinse wet-zone lockers to remove chlorides and soaps that corrode metals. Schedule battery changes or recharges for digital locks based on usage counts as well as dates, and keep spare power packs or keys for emergency access.
Frequently asked questions about secure lockers
People ask similar things when setting up or upgrading locker areas. Use these answers to align your team and speed decisions. Keep policies visible and revisit the plan when your footfall or user profile changes.